|
Online Patternmaking Classes
by Don McCunn How to Make a Mini-Me ► Tools and Supplies Tools and Supplies
| ||||||||||||
 |
 |
 |
|---|
Scotch and Double Sided tape are used to tape the Mini-Me together.
 |
 |
 |
|---|
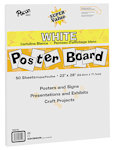
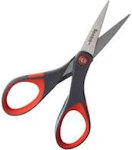
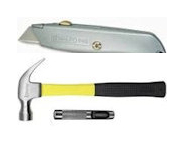
The easiest and most accurate way to transfer the patterns for the Mini-Me to poster board is to print them on self-adhesive paper using a desktop printer. This can then be applied to the poster board for the additional stiffness required. Once the patterns are taped to the poster board, they can be cut using scissors and a mat knife. There is a 1/2" hole that needs to cut in the waist and hip pattern pieces. This hole can be cut with a matt knife but it easier and more accurate to use a hammer and 1/2" grommet punch.
 |
 |
 |
|---|
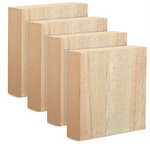
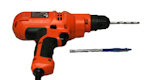
The dowels and wood blocks to stabilize the base are optional but strongly recommended. Use the drill with a 1/2" bit to drill a hole in the center of the block.
An alternative base can be made using a Brass Shade Holder and 12" Brass Plated 1/8 IP Steel Threaded Rod. No tools are required for this base.